Oregon Trail Walkthrough
A full journey framing from first roll-out to Oregon — stops, ferry, ghost towns, bosses, and the failure modes that end runs early.
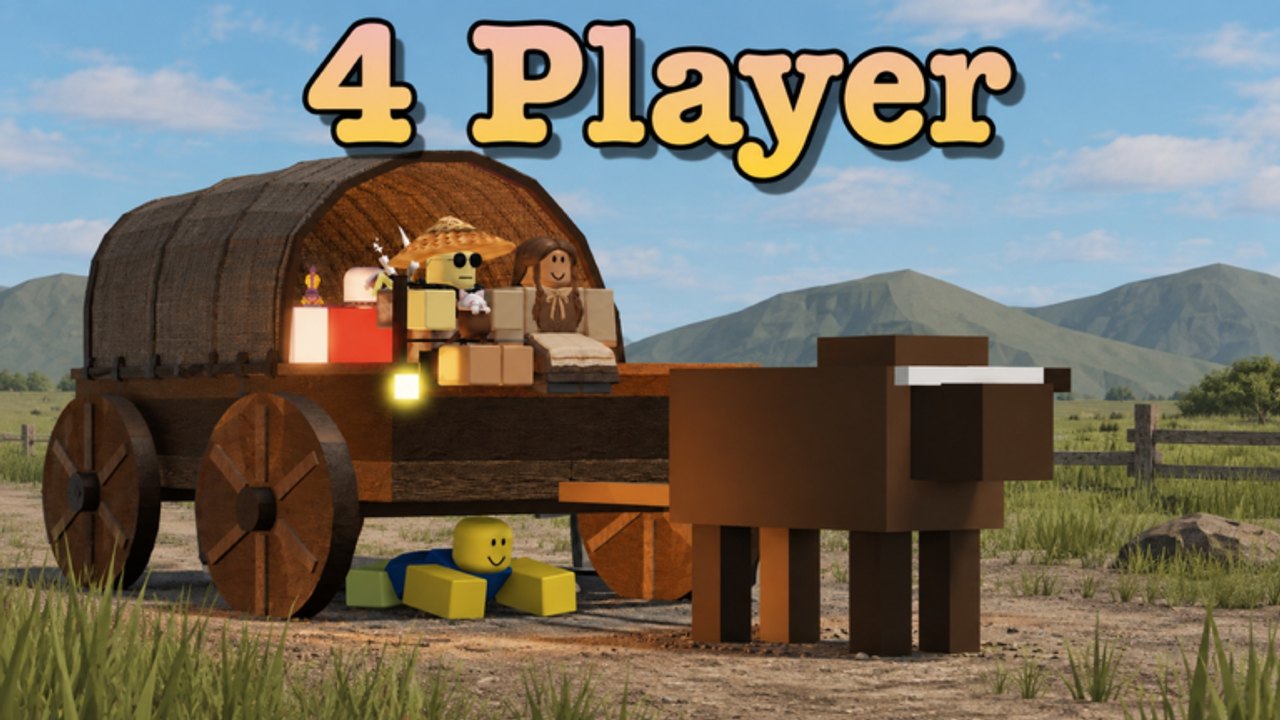
This walkthrough frames a full Oregon Trail Roblox journey: leave with a four-player wagon, survive the trail systems, pass known stop types, and push for Oregon. It is not a second-by-second script with invented GPS pins. Torrey Pines’ experience mixes procedural pressure with landmark moments, so the useful walkthrough teaches sequence, priorities, and failure modes you can reuse every run.
Released September 25, 2026 (Place ID 124172969655058), Oregon Trail sells a four-player trek with hunting, loot, survival, and bosses. “Oregon or bust” is the destination slogan. Many runs bust first — usually on wheels. Read Getting Started if this is your first hour, and keep the Survival Guide open while you travel.
Walkthrough goals
- Keep the ox wagon moving west with intact wheels.
- Maintain cooked food and medkits through hunting and loot.
- Pay the ferry instead of gambling the river.
- Use town church revive chances when a teammate dies.
- Clear ghost-town loot quickly without losing the wagon.
- Recognize badge-confirmed bosses when they appear.
- Reach Oregon with the party still able to roll.
Secondary goals — rare badges, perfect loot, sightseeing — only matter after the wagon is stable.
Phase 0: Party and departure
Form four players when you can. Assign a wheel guard, a hunter/cook, a fighter/medic, and a flex looter before you roll. Do a stock check: ammo, medkits, starter food, spare parts, cash. Pick traits seriously if offered. Then leave. Standing around invites wildlife and wastes the session clock.
If you need role language, jump to Multiplayer. If you need supply habits, stay close to Survival and Hunting and Loot.
Phase 1: Early trail — learn the failure modes
The opening miles teach the game’s real combat: hyenas on wheels, hunger if you forget to cook, and medkit burn after messy scrapes. Move west, hunt when the stash dips, cook before eating, and pick up every spare wheel and medkit you see. Supply crates along the trail are free injections — open them while someone still watches the wagon.
Do not treat early wildlife as optional flavor. A pack that nearly tears the wheels off can soft-lock the journey long before any named boss. When multiple threats appear, clear wheel attackers first.
Phase 2: Town stops — church and curiosity
Towns are recovery and temptation. The church matters: a priest has revived a dead teammate in observed play when the party asked for a miracle. Treat that as a chance worth attempting when you are already in town with a death on the roster. Card-gambling tables may exist as curiosity content; do not spend ferry cash or last kits chasing them.
Use towns to reset: count kits, cook, reassign who is tired of wheel duty, then leave. A town that becomes a twenty-minute hangout is a wagon that is not getting closer to Oregon.
Phase 3: Ferry crossing
When you reach a paid river crossing, pay the ferryman. Swimming has been observed to produce hypothermia signs on the climber. Ferry payment is a planned expense — if you arrive broke, that is an earlier economy mistake. Before you cross, confirm wheels are not already critical and that the party is not mid-starve.
Think of the ferry as a chapter break. After the crossing, re-check stock and resume the survival loop.
Phase 4: Ghost town loot spike
Ghost towns can dump spare wheels, medicine, backpacks, and other ground loot. Loot fast. Bandits have been waiting in observed towns. Send looters with cover, keep the wagon from sitting alone, and leave once the inventory bump is secured. Ghost towns are supply spikes, not safe hubs.
If bandits overwhelm you, breaking contact can be correct. Survival beats a backpack you die holding. Details on loot sources continue in Hunting and Loot.
Phase 5: Boss-aware middle trail
Official badges confirm these boss or boss-group targets: Big Bison, Old Scratch, Reese Gang, Wolf Mother, Mr. Levi, Ghost of Old Scratch, and Ghost of Mr. Levi. Those names are high-confidence. Exact spawn pins, phase scripts, and reward tables are not something this walkthrough invents. When you meet one, keep wheel defense active, burn medkits with triage, and treat the fight as a set piece that still must leave you with a working wagon.
Other badges players chase include Heading West (start the journey), A New Home (reach Oregon), Trailblazer difficulty clears, and assorted ultra-rares. Do not derail a healthy Oregon push for a rare detour unless the whole party agrees. Full badge-honest notes are on Bosses.
Phase 6: Late trail pressure
Late runs fail the same way early runs fail, just with less margin: fewer kits, tired players, damaged wheels, and overconfidence after a boss badge. Keep the same priority order — wheels, downs, predators, bandits, then loot. Landmarks and statue-like figures are not always scenery; some surprises attack on approach. Look, but do not assume safe.
If the wagon is crawling, solve that while still moving. A crawling wagon is a problem to fix, not a reason to AFK.
Phase 7: Reaching Oregon — and how runs end early
Reaching Oregon is the clear win condition tied to badges like A New Home. Getting there means the wagon and party endured the whole trip. Many recorded journeys end earlier when wheels finally give out — the soft spoken “well, I guess that’s it” moment. That ending is a wheel-and-upkeep failure, not bad luck from the map.
If you wipe before Oregon:
- Note whether wheels, food, kits, or ferry cash broke first.
- Fix that habit using Survival.
- Re-run with clearer Multiplayer roles.
- Only then chase boss badges more aggressively.
Mid-run decision tree
- Hungry? Hunt, cook, ration — then move.
- Hyenas on wheels? Drop everything else until wheels are safe.
- Teammate dead near town? Try church revive chance.
- At the ferry? Pay.
- Ghost town ahead? Loot fast with guards; expect bandits.
- Boss name appears? Fight carefully; do not trade the wagon for the badge.
- Kits empty after a fight? Play defensive, scavenge crates/town medicine, delay optional fights.
How to use video with this walkthrough
The embedded gameplay video shows a real Roblox Oregon Trail session so you can see wagon movement, combat pacing, and trail pressure. Use it to calibrate timing and threat feel — not as a promise that every landmark appears in the same order every run. Pair what you watch with the habit pages on this wiki.
Related pages while you travel
- Getting Started — first-session checklist.
- Survival Guide — food, kits, wheels, ferry, church.
- Hunting and Loot — animals, crates, ghost-town finds.
- Bosses — badge-confirmed boss dex.
- Multiplayer — four-player roles.
- Guides Hub — full guide map.
- Codes, Tier List, Scripts, Updates, Tools, Players, Wiki — supporting hubs.
Push west with intact wheels and a fed party. Oregon is a destination you earn by not ignoring the boring systems that end everyone else’s run.
Frequently Asked Questions
Quick answers for Oregon Trail Roblox players.
Does this walkthrough list every landmark in order?
No. It frames phases and decision points — departure, early trail, towns, ferry, ghost towns, bosses, late pressure, Oregon — because exact pin order can vary. Use the phases with Survival habits each run.
What usually ends a run before Oregon?
Broken or worn wheels from wildlife pressure are the classic ending. Empty medkits, food mistakes, and bad river choices also wipe parties. Fix wheels and upkeep before blaming the route.
When should I fight bosses during the journey?
When the wagon is stable and the party has kits. Badge-confirmed bosses are real goals, but a badge that costs the wagon still fails the journey. See the Bosses page for official names.
Is paying the ferry required?
It is the safe, recommended crossing. Pay when you can. Swimming has been observed to cause hypothermia signs, so treat ferry cash as a planned reserve.